
Although nothing can replace the feeling of receiving a tangible card in the mail for a special event or occasion, I understand the appeal of paperless invitations. They save time, money, and of course paper. Plus, they are also an excellent way make more casual events feel extra special. Whether you are sending birthday wishes or inviting a few friends over for dinner, digital cards and invitations are a great alternative to an informal text or Facebook invite.
Paperless Post also understands the draw of paperless correspondence and have combined technology and great design to offer the ability to send digital cards and invitation directly to someone's email address. Sending a basic invite won't cost you a thing, and their premium cards and options like adding a background or envelope liner cost just a few cents per recipient. Aside from the awesome designs they have from brands like Rifle Paper Co. and Kelly Wearstler, there is also the option to upload your own design—which is what peaked my interest. So I decided to give the upload feature a try. The process was very quick and user-friendly, and I love the way the invitations are delivered and presented to guests. Plus, this digital delivery service also works great for quickly sending my digital invitation designs.
I've summarized the simple process below. Be sure to read to the end of this post to download the free digital invitation design used in this post—plus a matching birthday card design.
What You'll Need
- A Paperless Post account
- Your custom design (try one of my digital invitations, or the free designs at the bottom of this post)
(Click each image to enlarge.)
1. Head over to their "Upload Your Own" section here.
2. Select the "Custom (Tall)" card and click the "Customize" button. 3. The customizing dashboard will appear with the backdrop section open. A plain white backdrop is free, or you can choose one of their many backdrop designs for 1 "coin"—the payment system they use—per recipient. Select a backdrop, or choose "remove backdrop" to use the free white option, then click the "x".
 4. Next, click on the "Photos" section where you will add your custom design. Click "add photo" to upload your design from your computer and it will automatically be added to your card. Click the "x" to exit the photo section.
 5. Now click the "Text" section. If your design already includes your wording then you need to delete the text in the text box. If not, this is where you will add your message or event details. You can move the text box around on the card and edit the typeface, color, and formatting of the text. Again, click the "x" when finished.
 6. Next, click the forward arrow to edit the envelope. You can send just the card without an envelope free-of-charge, or choose an envelope and liner for a few coins per recipient. If you would like to remove the envelope click on "Other options" and then "Delete this envelope". Otherwise, choose an envelope and liner to match the style of your card.
 7. Click the forward arrow again to move on to the envelope front. This section opens with a selection of stamps that you can choose from to upgrade your envelope, or just stick with their basic stamp for free. You can also edit the style of the text on the envelope. Click on the text on the envelope to select a typeface and color.
  8. Again, click the forward arrow, this time to edit the reply card. On the left click "Reply card option" to choose what type of reply card you would like. This allows you to collect responses, additional information, RSVPs, or send your recipients to another website. You also have the option to select one of their pre-made designs for the reply card for a coin or two, or stick with the free plain white card.
 9. Click the forward arrow one more time to enter your event details. When finished click "save" and then "preview" to view your card. If you are happy with the way it looks click "close" and then "next".
 10. The final step is to add all of your guests' information. You can send yourself a free test email and, if you are happy with the way it looks, send your invitations or schedule a time to send it in the future.

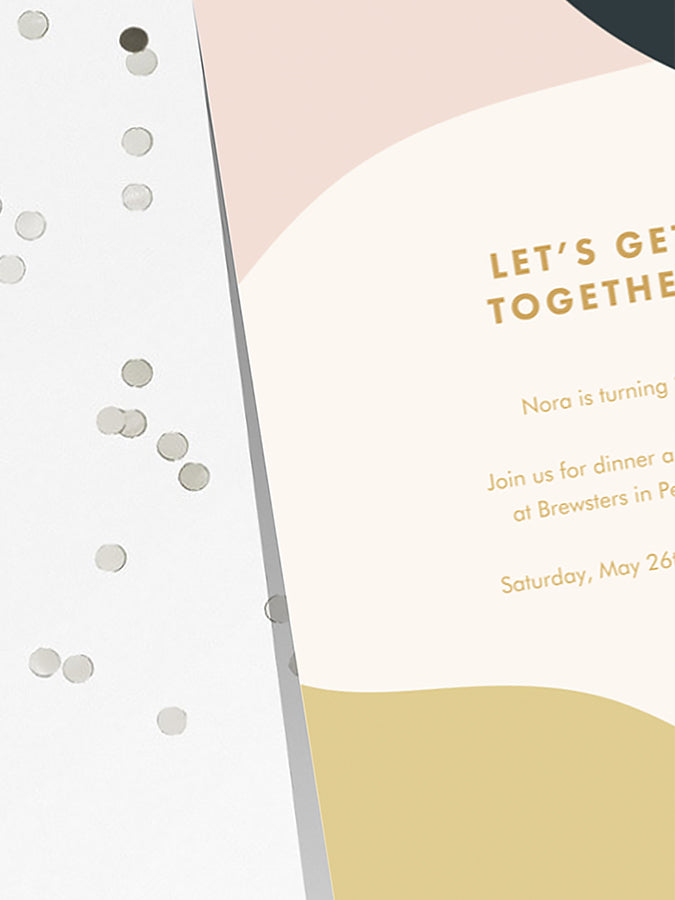
Here is a preview of what the final email and card look like.


Click here to download invitation
Click here to download birthday card
Subscribe to our newsletter: