
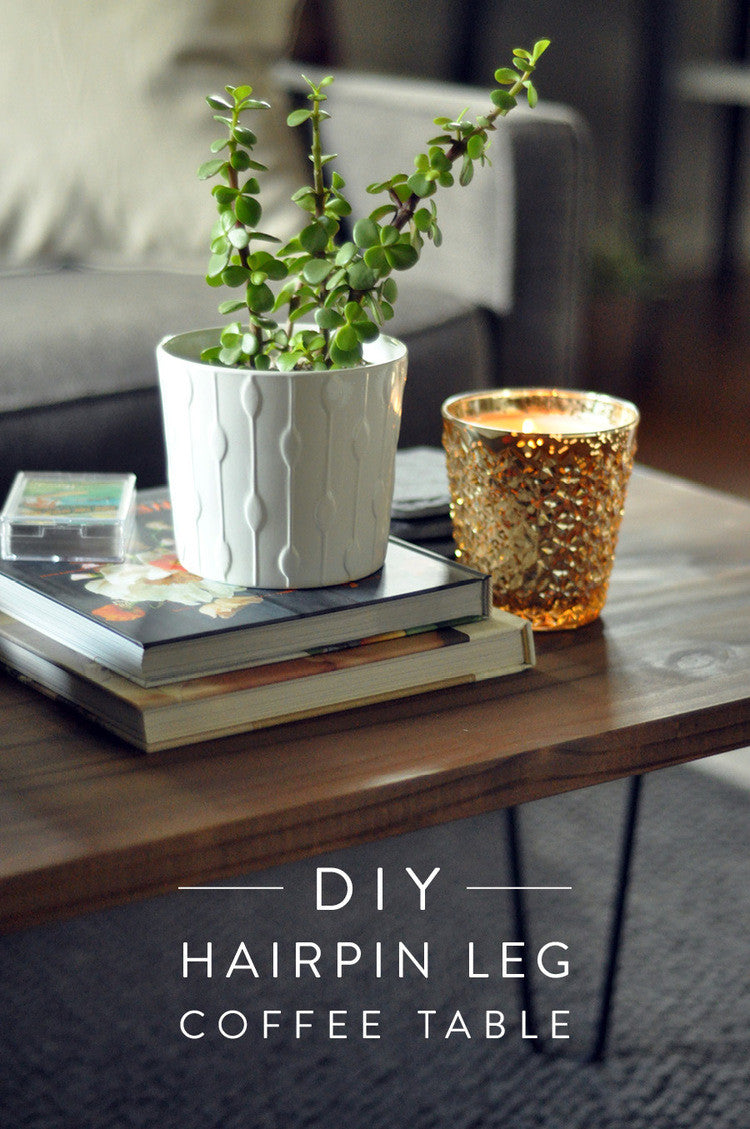
 Since our recent move from Sacramento to Petaluma forced Drew and I to downsize we sold the majority of our larger pieces of furniture at a garage sale. This made for a much easier move and allowed us to choose new pieces that fit perfectly in our new space. We had a pretty easy time finding affordable, smaller scale furniture, but when it came to our coffee table we just couldn't agree on a style, or what we did agree on was way out of our price range. Since I have a tendency to respond to everything Drew says he likes with an "I bet we could make that" I decided to actually follow through on that statement and make us a coffee table. It was the best option for us because I was able to make it in the exact style we were looking for and it only cost about $150, which is a fraction of the price of some of the coffee tables we were looking at purchasing. Want to see how it's done? Keep reading!

STEP 1: Choosing Your Legs
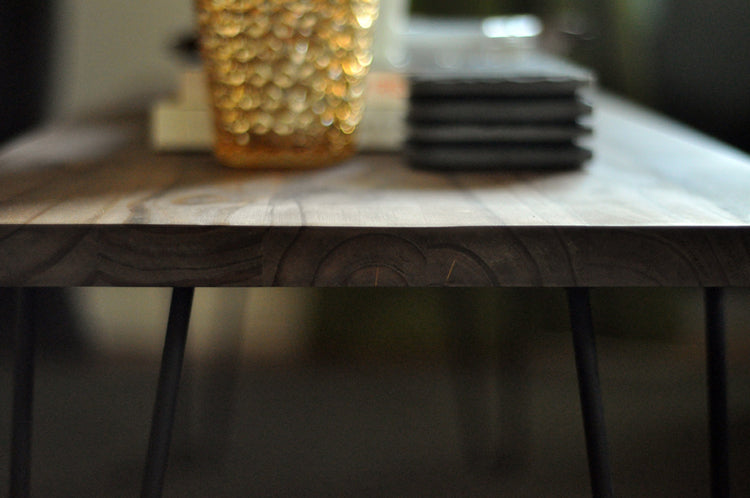
I decided to go with a hairpin leg because I wanted to add a Mid-Century Modern feel to the table, but you can really make this table with any legs you want. A tapered wood leg installed on an angle would also look great and add the same Mid-Century feel as the hairpin legs. You can find the legs I used at Hairpin Legs For Less.
Leg Height: The height of your coffee table should be even with the height of the seat of your sofa. So take the height of your sofa seat and subtract about an inch for the thickness of the top of the coffee table, and you will find your perfect leg height. Mine ended up being 16".
Leg Finish: If you are going with the hairpin legs they come in stainless steel, raw steel, or in a variety of different finishes. It does cost quite a bit more per leg to purchase them finished so I chose to go with the raw steel and finish them myself. If you do go with the raw steel you will need to finish them, otherwise they will rust. The stainless steel can be left unfinished.
STEP 2: Choosing Your Top
Size: So that your coffee table is accessible to everyone sitting on your sofa the length should be about 2/3 of the length of your sofa. Since our sofa is 72" long, our coffee table needed to be 48" long. As for the width of the coffee table, you want to allow about 16" between your coffee table and any seating that you have around it for leg room. Our living room is set up so that we have a sofa facing two chairs across from it. I measured the space between the chairs and the sofa and subtracted 16" for each side of the coffee table facing the furniture (32" in total) which gave me about 20". So, by doing all of this wonderful math I decided that our coffee table should be about 48" x 20". This is just a guide to go by, you can give or take a few inches.
Material: While I was at Home Depot looking at their different wood options I came across a section of pine shelving pre-cut to certain sizes, one size being about 48" x 17" x 1". Since the size of this board was just about the exact size I needed for my coffee table I went with it so I wouldn't have to make any cuts. Know that pine is a soft wood so it is easily susceptible to denting and scratching if you don't finish it with polyurethane, but I was going or a more rustic industrial look anyway so it didn't bother me. The exact piece I chose is this 1 1/8" x 17 1/4" x 47 1/2" Knotty Laminated Pine Panel.
STEP 3: Build Your Table!
Now that you have chosen your legs and top, it's time to get to work. Here are the supplies you will need:
Supplies:
- Hairpin legs
- Wood top of your choice
- (3) 1" x 1" x 12" strips of wood for the table cleats
- (12) 1/2" wood screws
- (9) 1-1/2" wood screws
- Dish soap or a degreaser
- 120 grit sandpaper
- 220 grit sandpaper
- Metal primer
- Flat black protective enamel
- Pre-stain wood conditioner
- Oil-based wood stain (I used Minwax wood finish in Special Walnut)
- Paste finishing wax
- 2 sponge brushes
- Rags or old t-shirts, clean
- Cardboard, tarp, or newspaper to spray paint on
- Drill, drill bits, drivers, electric sander

Finishing The Legs: When you receive the hairpin legs they will most likely be a little grimey so clean them well with soap and hot water or a degreaser. Once clean and completely dry set up your spray painting area and prime the legs according to the directions on the primer can. Next, spray the legs according to the directions on the enamel can. Apply a few coats of enamel and then let dry for 24 hours. Pretty easy in my opinion, and way less expensive that purchasing them pre-finished.
Finishing The Top: Start by sanding down the top, sides, and bottom of the board in the direction of the grain with 120 grit sandpaper. It makes it much easier if you have an electric sander but you can do it by hand as well. Next, do one final sanding with 220 grit sandpaper to get a nice smooth finish. Wipe away all of the wood dust with a clean, slightly damp cloth, and let the wood dry completely.
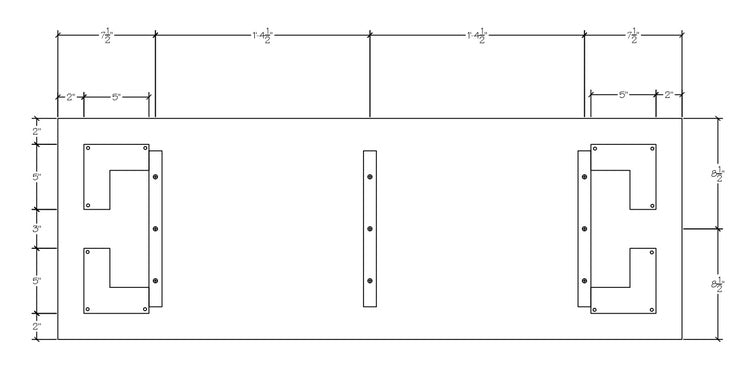
As the wood is drying you will want to prepare the cleats that are going to be screwed to the bottom of the table. Table cleats are necessary when using hairpin legs because the lack of support that hairpin legs provide will cause the table to sag over time. Measure according to the diagram below onto each of your 1" x 1" x 12" pieces of wood, and pre-drill the holes with a drill bit slightly smaller than your 1-1/2" screws.

Decide which side of the board you want to be the top and place the wood top side down on a towel to make sure you don't get any dings. Next, screw in the middle cleat to the center of the wood perpendicular to the long sides of the table (see the diagram below). To find the placement for the outer cleats you want to place the legs where you want them and butt up the cleats to the base of the legs for added support (make sure the legs are dry to the touch before you do this, and be careful because the finish will scratch off when its not fully dried). I positioned my legs 2" in from all sides. Screw the final 2 cleats onto the board and before removing the legs mark where the holes are with a permanent maker, then put them in a safe place to finish drying.

Now it is time to apply the wood conditioner with one of your sponge brushes according to the direction on the can. I only applied the conditioner to the top and sides of the table since no one is going to see the bottom, and I'm lazy. Let the conditioner soak into the wood for 5-10 minutes and wipe of any excess left on the wood with clean cloth.
The wood stain will need to by applied within 1 hour of applying the wood conditioner. Apply the wood stain with a sponge brush in the direction of the grain on the top and sides. Try to apply it as evenly as possible otherwise it might be a bit blotchy. Let the stain dry for 5-10 minutes (the longer you wait the darker the stain will be) then wipe away the excess stain with a clean cloth. Once you are finished with the top and sides move onto the bottom.
After your legs have dried for 24 hours you can attach them to the table top. Turn the table top side down onto a surface covered with a towel so you don't ding the wood. Next, pre-drill holes where you made your marks with the permanent marker using a drill bit slightly smaller than your 1/2" wood screws. Screw each leg to the table.
By this time the stain on your table should be completely dry so you can apply the furniture wax. I chose to use furniture wax instead of polyurethane or a more durable finish because I wanted a very matte finish, and a more industrial look. You will need to be very careful to avoid dings, scratches, and watermarks if you use only furniture wax. If you want a more durable finish with more of a sheen you can use polyurethane. To apply the wax turn your table right side up, take an old, clean, white t-shirt that you are okay with throwing away and put a clump of wax in the middle of it. Apply the wax in a circular motion through the t-shirt being sure not to apply it too thick or it will get blotchy. Once the wax has dried for 15-20 minutes buff it out with a soft cloth.
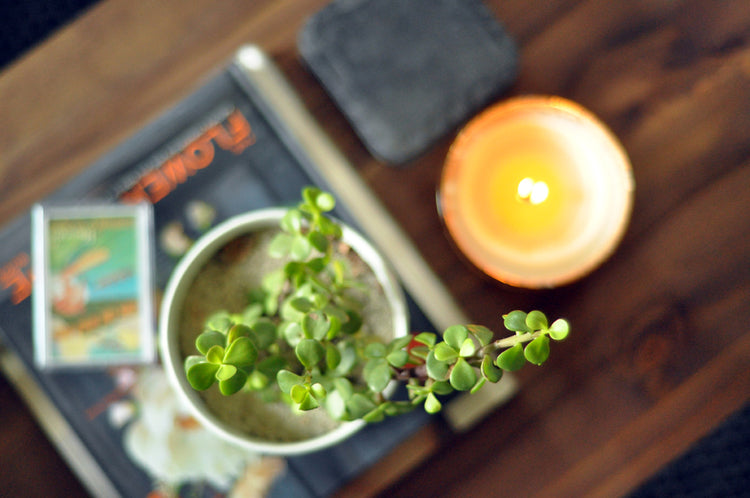
You're table is complete! Now, style it with a cute tray and a vase of fresh flowers, put up your feet, and enjoy your hard work!

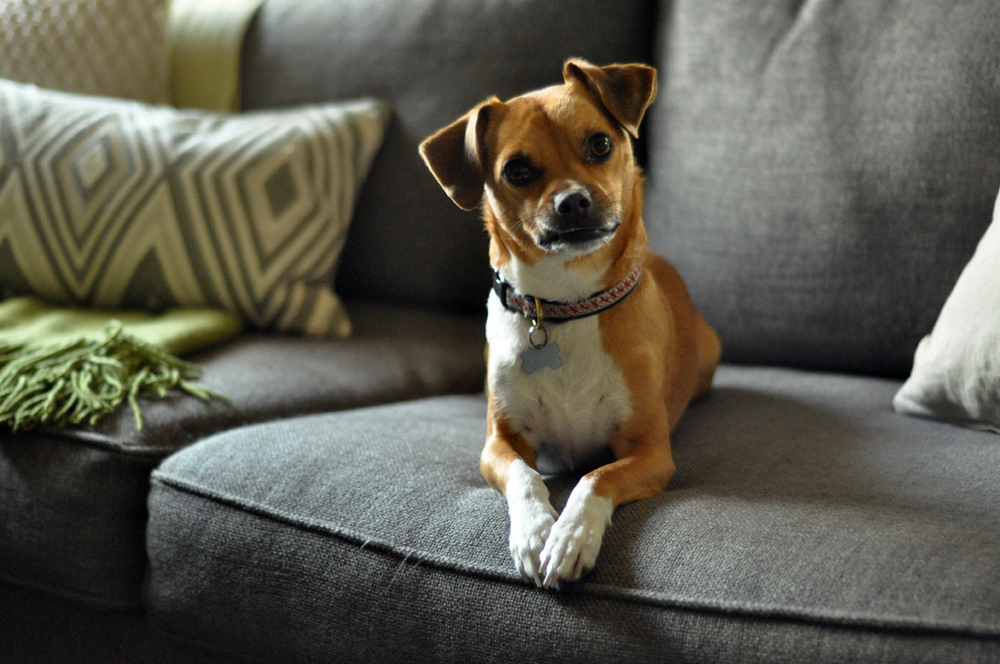
Of course Dexter saw I had the camera out and was ready to strike a pose at any second!
DISCLAIMER: I am by no means a professional so please always read and follow instructions and safety warnings on the products you are using, and if you have any questions seek the help and advice of a qualified professional.
Subscribe to our newsletter:
I used your design as the inspiration for my own! Check it out :)
https://www.ordinaryroyalty.com/2018/04/the-easiest-coffee-and-end-table-set.html